What is paint correction?
Paint correction refers to the process of removing the imperfections in a vehicle’s finish and restoring it to an, often times, better than new state. These imperfections include but are not limited to, swirl marks or “spider webbing” from circular washing, automated carwashes, fine scratches, water spots, bird dropping etching, holograming caused by inexperienced detailers and the list goes on…The only true way to remove scratches in your vehicle’s paint is with the process of paint correction, one of our specialties here at Anthony’s Auto Salon. Once the paint has been re-leveled, your scratches are gone for good, but it does require proper maintenance
to keep your car looking great after the detail to avoid putting new scratches into your paint.
How do I tell if my vehicle is in need of paint correction?
Have you ever looked at your car in the sun and thought that it looked like it was covered in a spider web? These are actually circular shaped scratches and are caused by improper washing techniques. Many people still wash & detail cars with the old, circular, “wax on, wax off” technique and this is where these marks come from. No Mr.Miyagi’s here at Anthony’s uto Salon! While it is impossible not to mildly scratch the surface during a wash (on an unwaxed car), these circular movements are actually what put those scratches in the paint, not remove them.
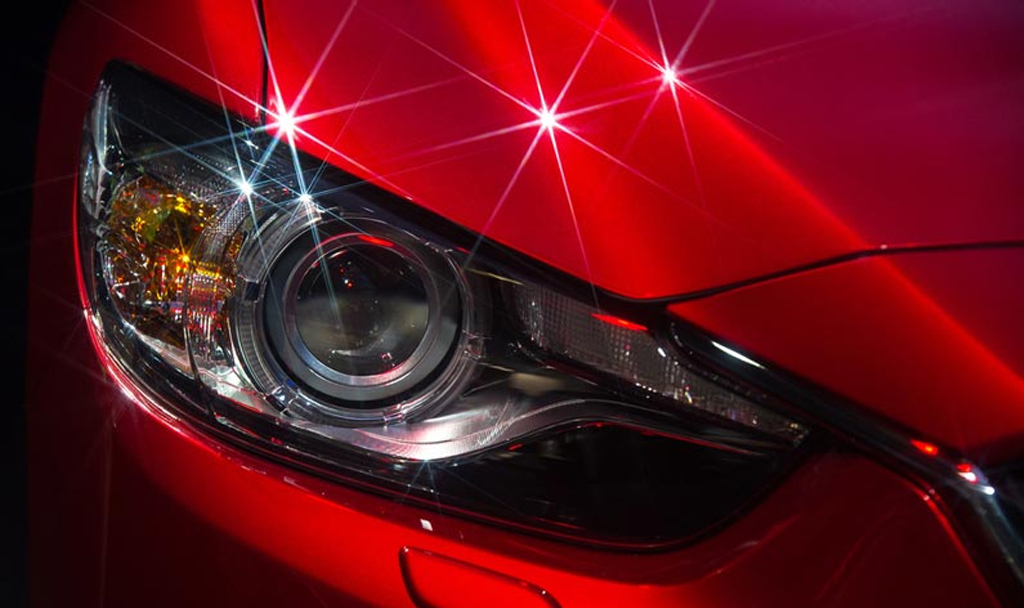
Why does paint correction matter?
Whether you have a Ford or a Ferrari, the first thing anyone who sees your car will notice is the paint. What they are really seeing is the reflection of the rest of the world in your vehicles finish. While a car might look “clean” and well taken care of from afar, often times the finish will be muddled.
How is paint correction achieved?
Step 1: Wash Process followed by Clay Bar
The first step in correcting a vehicles finish is removing all surface contaminants.This starts with a thorough wash process, drying of the vehicle and then moving to the clay bar step. A common misconception is that once a vehicle has been washed, it is clean. While it may be clean to the naked eye, the surface is often still covered with stubborn contaminants that require an extra step to remove. This step is known as “Clay Bar.” Have you ever washed your car and ran your hand on your “clean” dry paint and felt contaminants are still there? In some cases your paints finish might even feel rough like sand paper if it has heavy contamination or paint over spray. This decontamination process is important, as when you move to the next stages of wet sanding, buffing, polishing, etc you don’t want those contaminants being ground into your car possibly permanently damaging your vehicle’s paint.
In this process, the surface of the paint is sprayed with a special clay lubricant and then passed ver with a soft detailing grade block of clay. The clay glides though the thin layer of lubricant and picks up any stubborn contaminants left over from the wash process. This process is extremely important because if one was to begin polishing before these contaminants were removed then they would be ground into the paint causing scratches or other visible results. Once all of these contaminants have been removed, the paint must then be inspected to see what sort of correction will be required.
Step 2 (if required): Wet Sanding or Leveling
Sometimes buffing and polishing isn’t enough to remove an imperfection from a vehicle’s surface. For the things like especially deep scratches or orange peel, they must be removed with a technique known as “wet sanding” or “color sanding.” This is the process of using a moistened series of specially designed automotive sandpaper with very fine grit to remove the top layer of clear coat. The surface then has to go though a staged extensive buffing & polishing process to bring the shine back.
Step 3: Buffing & Polishing
Step 3 and 4 (Sometimes more) of the paint correction process is the actual polishing of the vehicle. It isn’t as simple as grabbing a polisher and going to work though. Depending on a number of factors such as the amount and type of clear coat, if it is one stage paint or not, and the severity of the imperfections, the combination of machine, pad, and polish will differ from vehicle to vehicle. For instance, vehicles that have been wet sanded will required a multi-step polishing process including 3-4 different types of polishing pads and several different types of polishes.
Often times several stages polish are required to achieve full correction. The first being the most abrasive and and the last being a very fine finishing polish. The large scratches are removed in the first stage of polish and then the smaller surface abrasions caused by this harsh polish are removed by the finer polish that comes after it.
Step 4: Sealing and Waxing the Vehicle
After all correction has taken place, it is time to seal up the vehicle’s paint to protect it from further scratching.
Unlike glaze, our waxes and sealants are engineered to maintain a protective layer on your paint for several months. There are two main kinds of products we use; polymer-based waxes and natural carnauba waxes. While the synthetic polymer-based waxes will last longer, the natural carnauba waxes are known for giving a deeper shine but don’t last as long. We even have options such as “Stacking” which is 2 coats of protection (First Synthetic Polymer, followed by a wax top-up) giving you the longevity of a sealant, but that fresh look of wax and can last up to a year after your detail!
Still have questions regarding paint correction, detailing or paint protection? Feel free to email us at info@anthonysautosalon.com and we would be happy to help you in any way we can!


